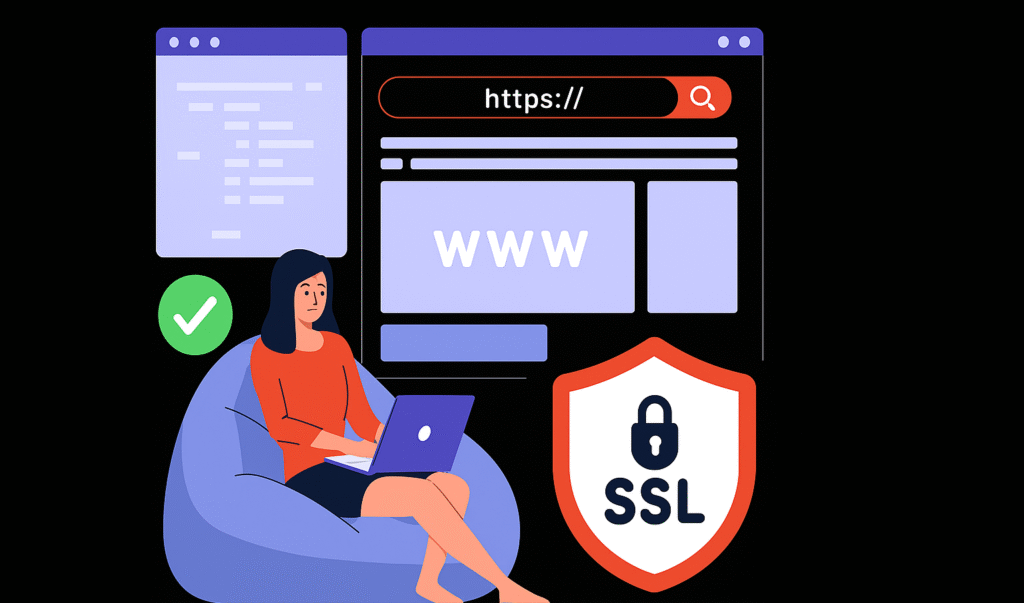
Learn how to install SSL on your WordPress website in 2025. Step-by-step guide to activate HTTPS, improve security, and boost SEO with a free SSL certificate.
✅ Introduction
Ever noticed websites starting with https:// instead of just http://?
That little “s” stands for Secure, and it’s enabled by an SSL certificate. If your WordPress site doesn’t have SSL, you’re risking both security and search engine rankings.
In this beginner-friendly tutorial, you’ll learn exactly how to install SSL on a WordPress website step by step. Whether you’re using a free SSL from your hosting provider or installing one manually, we’ve got you covered.
🚀 What Is SSL and Why Is It Important?
SSL (Secure Sockets Layer) encrypts the data exchanged between your website and its visitors. It turns your site’s URL from:
http://yourdomain.com → https://yourdomain.com🔒 Why SSL matters:
✅ Encrypts data for better security
✅ Builds trust with visitors (shows padlock in the browser)
✅ Required for accepting payments (e.g., Stripe, PayPal)
✅ Google ranks HTTPS websites higher than HTTP
✅ Prevents the “Not Secure” warning in browsers
🧩 How to Check if Your Site Has SSL Already
Before installing, check if your SSL is already active:
Visit your site in a browser.
See if the URL starts with
https://and shows a padlock icon.If not, you’ll need to install SSL.
🔧 How to Install SSL on WordPress Website (4 Easy Methods)
🔹 Method 1: Use Free SSL from Your Web Host (Recommended)
Most modern hosting providers include free SSL certificates via Let’s Encrypt.
✅ For SiteGround, Bluehost, Hostinger, etc.:
Log into your hosting dashboard.
Go to Security or SSL/HTTPS section.
Locate Let’s Encrypt or Free SSL.
Click Activate.
Wait a few minutes, and SSL will be installed.
Once done, continue with WordPress steps below.
🔹 Method 2: Install SSL Using Cloudflare (Free)
Cloudflare is a free CDN and security platform that also offers SSL.
Steps:
Sign up at Cloudflare.com
Add your domain and update your domain’s nameservers
Enable Full SSL mode
Install the Really Simple SSL plugin on WordPress
Cloudflare will handle the HTTPS encryption from their network to your site.
🔹 Method 3: Install SSL Manually with Certificate
If you have a paid SSL certificate from another provider (e.g., GoDaddy, Namecheap):
Download the certificate files from your SSL provider.
Go to your hosting panel → SSL settings.
Upload the certificate (CRT), private key, and CA bundle.
Activate it and configure it in WordPress.
This method is more advanced but offers extended validation or wildcard options.
🔹 Method 4: Use a Plugin to Force HTTPS in WordPress
After installing SSL on your hosting:
Install the Really Simple SSL plugin.
Activate it.
It will detect your SSL and automatically:
Update your WordPress URLs to HTTPS
Redirect all traffic from HTTP to HTTPS
No manual configuration required.
🧪 Test Your SSL Installation
Once SSL is installed:
Visit your website at
https://yourdomain.comUse SSL Checker to verify it’s working
Check Google Chrome padlock icon for security status
🔄 Redirect HTTP to HTTPS Manually (Optional)
If you’re comfortable with code, add this to your .htaccess file:
<IfModule mod_rewrite.c>

RewriteEngine On

RewriteCond %{HTTPS} off

RewriteRule ^(.*)$ https://%{HTTP_HOST}%{REQUEST_URI} [L,R=301]

</IfModule>
Or configure in Rank Math SEO → Redirections if using a plugin.
🔧 Bonus: Update WordPress & Site Settings to HTTPS
After SSL is active, go to:
Settings → General
Update both WordPress Address (URL) and Site Address (URL) to start with
https://
Also update:
Google Search Console (add new HTTPS property)
Google Analytics settings
Social media profile links
⚠️ Fixing Mixed Content Warnings
Sometimes, images or scripts still load over HTTP, causing a “Not fully secure” message.
Fix it with:
Really Simple SSL plugin (auto-fixes mixed content)
Manual fix: update internal links and image URLs to HTTPS
📌 Essential Plugins to Use with SSL
| Plugin | Use |
|---|---|
| Really Simple SSL | Auto-detects and configures SSL |
| Better Search Replace | Replaces HTTP URLs with HTTPS |
| Rank Math SEO | Manage redirections & SEO settings |
| UpdraftPlus | Backup your site before making changes |
🙋♀️ FAQs – How to Install SSL on WordPress Website
1. Is SSL free for WordPress websites?
Yes! Many hosts (like Bluehost, SiteGround, Hostinger) offer free SSL via Let’s Encrypt.
2. Do I need a plugin to use SSL on WordPress?
Not always. But a plugin like Really Simple SSL helps auto-configure and prevent errors, especially for beginners.
3. Will SSL slow down my website?
No. In fact, SSL is often paired with faster protocols (like HTTP/2), which can speed up your site.
4. Do I need SSL if I don’t sell anything?
Yes. Google recommends SSL for all sites, and browsers now show “Not Secure” warnings for HTTP sites.
5. How do I know SSL is working?
Visit your site in a browser:
Look for
https://in the URLCheck for a padlock icon
Use an SSL testing tool to verify
🎯 Conclusion
Now you know how to install SSL on your WordPress website, you’ve taken a huge step toward improving your site’s security, SEO, and professionalism.
Whether you’re using a free SSL from your host or installing one manually, the process is simple — and definitely worth it.
Ready to go secure? 🔐


